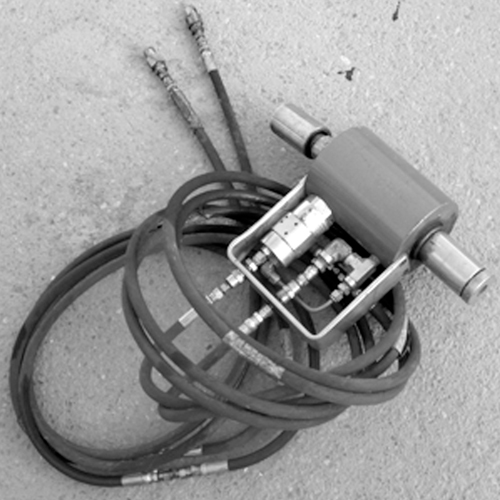
For intensified cable truss tensioner

- Ensure that all hydraulic fittings are tightened before operation, and that the unit is in good working order. Check the following:
- There are no major dents in the housing.
- That the autogripper assembly (gold in color) is fully tightened against the face of the piston.
- That the autogripper wedges are in good condition and are not chipped, dented or missing teeth.
- That there are no major leaks in the system.
- Monitor during use the following:
- The autogripper remains screwed in tight against the face of the piston
- The gripper wedges do not become too dirty
- That the wedge teeth do not wear too badly. The autogripper wedges are designed for reuse, but eventually need replacing.
- Before placing the tensioner onto the cable, ensure the cable has minimal dirt and or dust on its surface. This dirt and dust will make it harder for the wedges to grip the cable.
- Slide assembly onto the tail of the cable until the tensioner nose is fully seated against the wedges of the dogbone/wedge barrel. A minimum of one inch of cable tail should protrude from the end of the autogripper assembly. (If the cable does not protrude from the back of the tensioner the minimum one inch length the jaws will not grip the cable properly. There is significant risk that the cable will strip the wedge teeth).
- Pressurize the cylinder to the desired load (2,000 psi/17 ton maximum for the 0.6” x 30 ton cable – see appendix 1 for a pressure versus load plot). If the cylinder runs out of travel before the load is reached, release the pressure and slide the cylinder on further and repeat the tensioning process.
- The following wear components are available for purchase from your local DSI Underground supplier (appendix 2):
- Autogripper assembly
- Autogripper wedges
- O-Ring kit
- Banana Nose

